If you’re starting to look into growing your own food, you’ve likely started looking into raised beds. Some of the beds I’ve been getting targeted ads for are $400+! I’ve done my research and have time tested my approach – I have been using this same formula since I started growing in 2022. I now have 20 beds set up in this exact way. Here is the most cost-effective way to put raised beds in your garden, with deer and rabbit-proofing barriers.
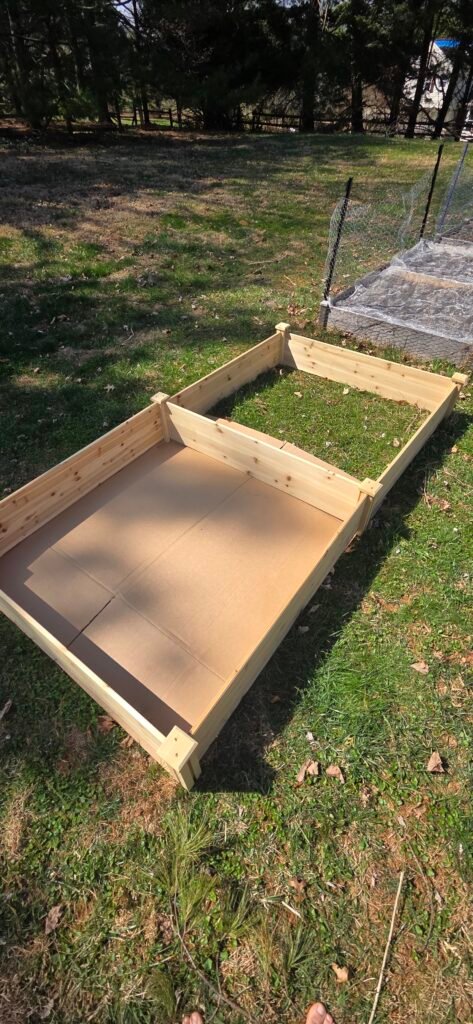
First, you need to start with a good bed. You do not need fancy – you just want basic wood, ideally not treated with chemicals. I like this 8 foot by 4 foot by 1 foot deep fir wood garden bed by Yaheetech. I grew 15 inch parsnips in it this year! At the time that this post was published, each bed is $59, which I dare you to beat!

- Durable Wooden Construction: Made from solid wood without paint for long-lasting use.
- Flexible Planting Options: Divisible raised bed allows growing multiple plants or methods.
- Stable Single-Piece Design: Complete side plate provides stability and easy installation.
Once your beds arrive, you’ll need to assemble them (relatively easy) and line the bottoms with cardboard, as a weed barrier. Make sure to remove any tape or stickers, if you decide to use shipping boxes. You want to cover the whole ground, without gaps – overlapping the cardboard is fine – any uncovered areas will have weeds come up. Greasy pizza boxes work great here!
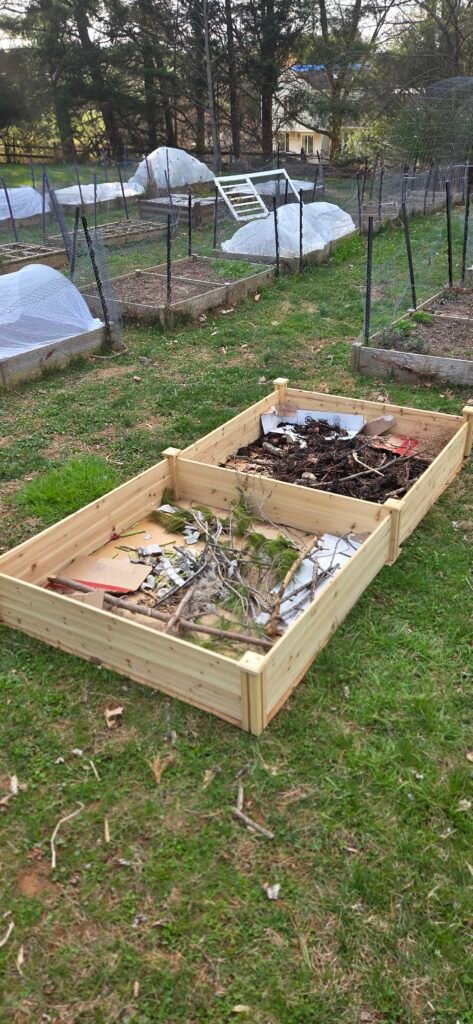
Next, you’re going to fill the bed with items you have around your yard, to take up space in the beds and reduce the demand for how much soil you’ll need. I usually start with rotted wood and downed branches. Here, I have also filled it with some chicken litter and not-totally-broken down compost.
Next, you’ll fill your beds. I recommend ordering topsoil from a local nursery or garden center – it will be WAY higher quality than anything you can buy in a bag. I order mine by the cubic yard. This year I got 6 cubic yards delivered for around $500 – this was enough to fill all 4 of my new beds, as well as topping off the new 500sq foot in-ground garden that I had tilled. My neighbor with a tractor was kind enough to move all that dirt for me.
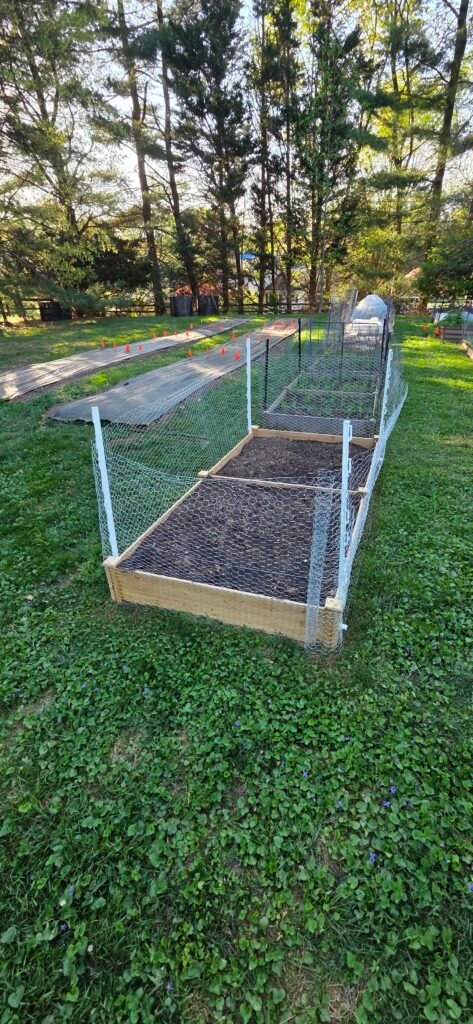
Finally, once filled, you are ready for animal proofing. For each bed you’ll need 4, 4-foot fence posts. You can certainly use metal, but I have found that plastic ones work just fine. I purchase mine by the pack of 50 at Tractor Supply, here is a link to similar on Amazon, which gets them down to $2.30 each:
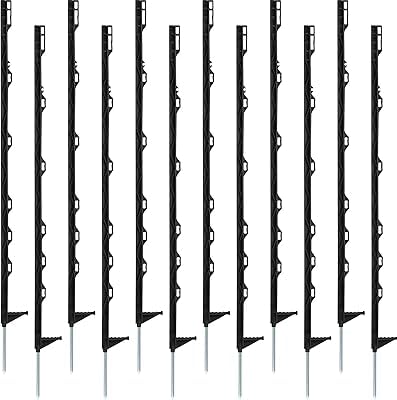
- Heavy-duty 48” step-in fence posts will help keep your property protected when used with an electric fence system. Molde…
Since each bed is 8 x 4 feet, they have a circumference of 24 feet. Luckily, you can order chicken wire rolls in 25-foot increments. By going this route, you won’t need to cut any wire, which is a huge win. I use 36 inch wire Yardgard brand.
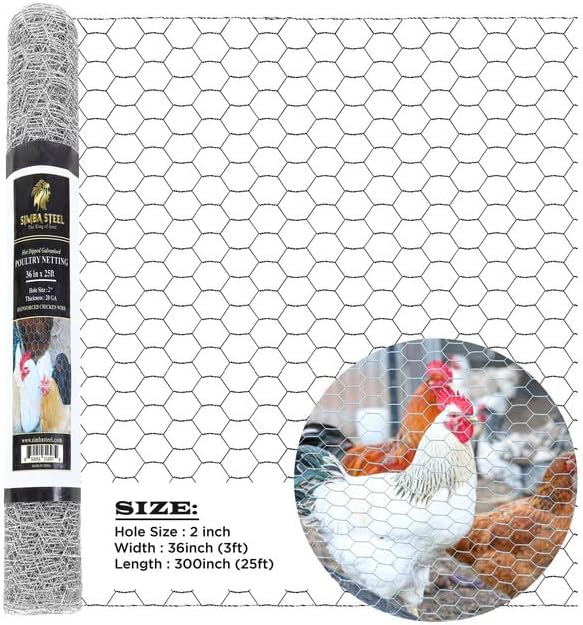
- Flexible Large Size: Ideal for covering both small and large areas, this wire netting offers ample length and width. Eas…
- Durable Hexagonal Design: Engineered with a double-twisted hexagonal structure and reinforced for extra sturdiness, this…
- Premium Rust Protection: Constructed from high-quality materials and hot-dip galvanized for superior rust resistance, th…
Place one fence post at each of the 4 corners of the bed. Then, using a staple gun and staples, secure the roll of chicken wire by stapling it directly to the bed. Here is the staple gun that I use:

- Made from the highest quality materials
- Long lasting durability
- Impact and corrosion resistant
I try to staple every 3-4 inches, to ensure there are no gaps and animals cannot push up. This has been very effective in preventing deer and rabbits from eating from my beds.
Happy garden season, y’all!